
A very long time ago, hard to believe, in one of my early blogs I covered one of my favorite Prinect products: Coating Editor. At the time I was still learning to blog and gain my voice. I feel it is time to write about this product again. While there isn’t anything terrifically new, I feel like attention should be drawn to this wonderful and versatile tool again.
Coating Editor is both a plugin for Acrobat and is a part of the Prinect Production Manager workflow. Its primary purpose is to easily add spot coatings to prepress artwork. It can also be used to add white behind artwork because you are printing on clear or metallic substrate and it can do even more.
The beauty of this tool is it's just adding these colours as separations to your PDF. This means it can be used not just with Prinect Production Manager workflow output but any offset, flexo or digital device that needs a spot varnish or white or more! A lot of print shops do this by hand. This can be prone to errors and be very tedious and slow. For many of these tasks Coating Editor can literally complete the task in seconds. It is based on the original artwork so accuracy is never an issue.
In this first part let’s overview the interface. To access Coating Editor in Acrobat just choose Plugins – PDF Toolbox.
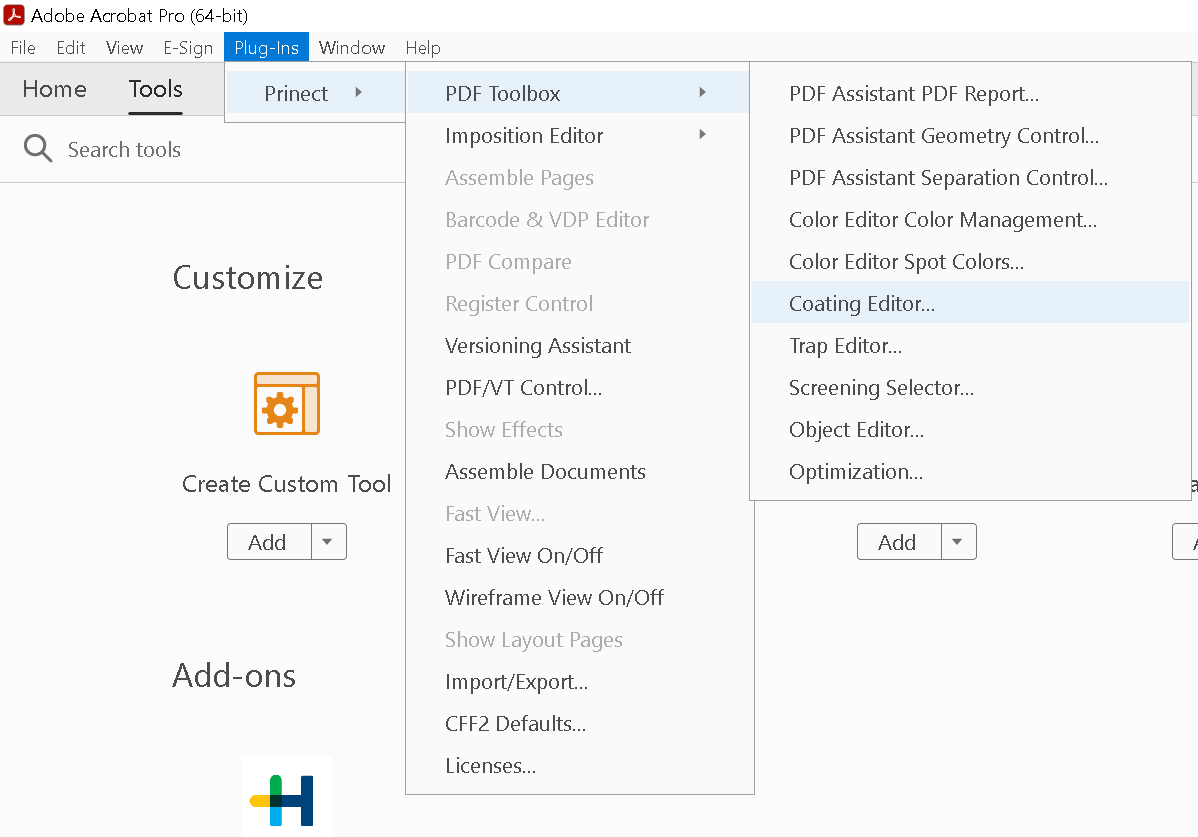
Coating Editor is the icon bordered in red.
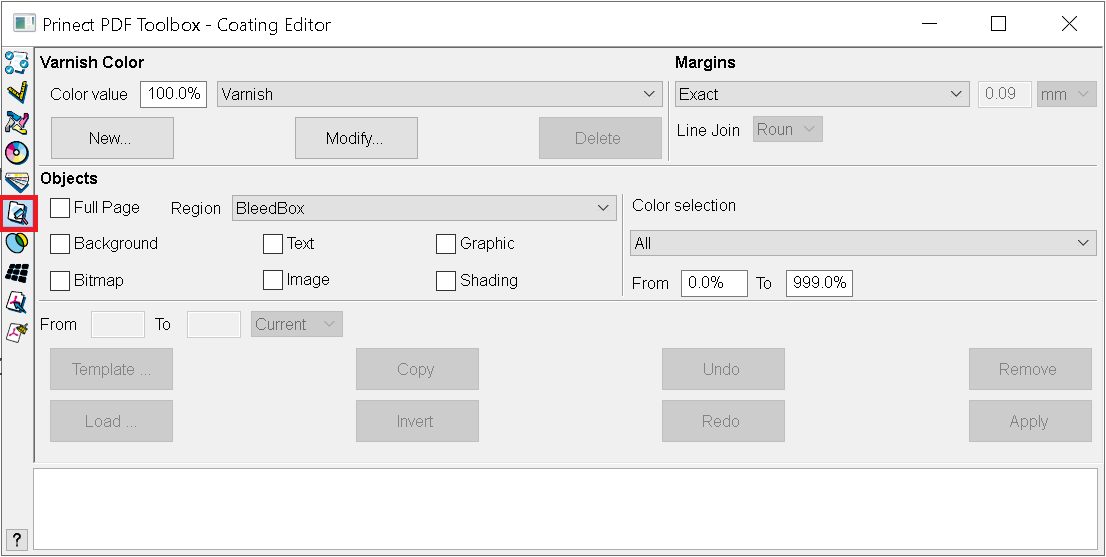
The first area in the upper right hand corner is Varnish Colour. This allows us to create different types of coating, white, metallics, second hits of spots or whatever your imagination can push it to! For some devices colours need specific names to be applied, for example, a clear coat in a digital press. You can also control with Colour Value whether you want 100 of that colour laid down or a percentage. When these are applied colour separations are added to the pdf with the name chosen here.
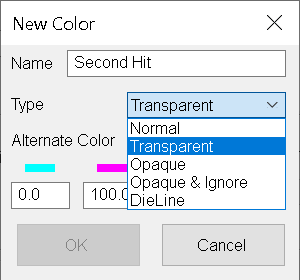
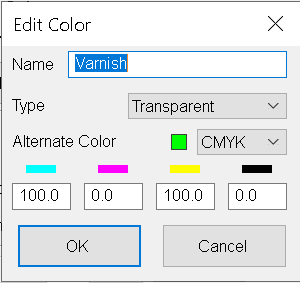
When we click on New we are allowed to name this colour. We can also assign the type of ink. This will effect both how the colour displays on proof and how the trapping in the workflow will be applied. If you would like to see further how this effects trapping see my two part blog on trapping here and here.
We can also assign the values we want for this colour to display on screen and on proof although this does not represent final output as that is just a single separation.
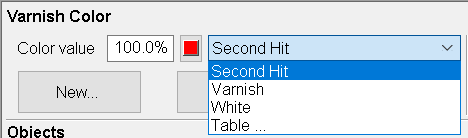
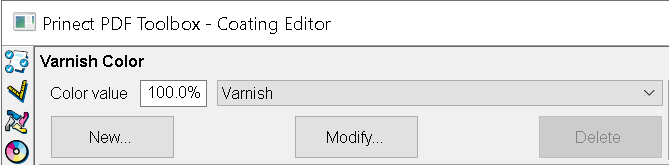
Once we have input our colours from now on we can just choose them from the drop down menu.
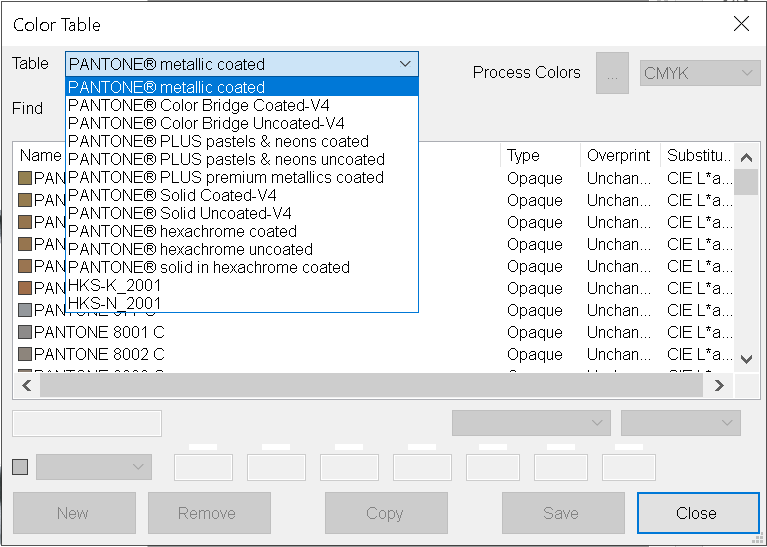
If you pick Table you can also select Pantone colours from the included Pantone tables in the workflow. This is really helpful when creating a second hit for an existing Pantone in the job as it adds the display values of that colour automatically without having to look them up.
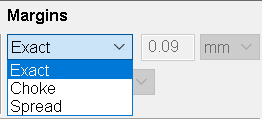
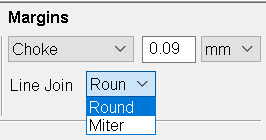
With Margins we can choose whether the shape of the applied colour is exactly the shape of what it is covering or going behind or if we want it slightly smaller, choke, or slightly larger, spread. This is a form of simple trapping and makes sure if there is a misregister that the extra colour does not peak out.
We can choose how big the choke and swell are and how we want the choke to look in the corners. Whether they should be round or sharp Miter square corners. These can sometimes be helpful, in the case of Miter, when we are printing on a flexo press. The sharp corners help when the substrate is soft and can stretch.
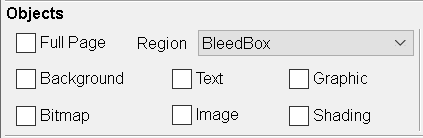
By choosing Full Page we can apply basically a flood varnish to the entire page for example. If we don’t want that but we do want to apply a spot varnish or white, for example, to very specific types of the artwork but not have to pick them individually we can choose any of these artwork types.
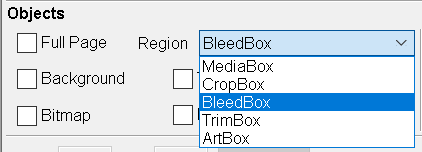
We can also choose whether they should be applied only within certain page boxes in the pdf. I wrote an explanation of these boxes in my blog that discusses our Acrobat plugin for editing them.
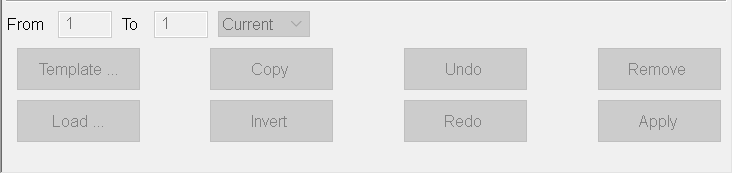
Finally we can choose which range of pages we want to apply this to in the pdf artwork. There is also the ability to invert the applied colurs in case we want the background and not any of the artwork for a visual effect. You also get an undo and redo. Plus, one of the beautiful parts of Coating Editor is you can add or remove varnishes at any time. As long as Coating Editor created the extra colour or colours then it can be modified. There is never a point of no return that would force you to go back to an original file without any coating editor edits.
In part 2 we will look at the practical applications of these settings and how this can be done as part of the workflow. Hopefully they will inspire you to try some finishing effects with Prinect Coating Editor. A very important part of the Prinect Production Manager workflow.

Joe Banich
Prinect Product Specialist - Heidelberg Canada
Email*: Joe.Banich@Heidelberg.com
