

In my last blog we looked at Coating Editor’s settings and features. In this blog I’d like to show what it can do in practice. Let me reiterate that Coating Editor isn’t just for generating a varnish. It can work anywhere you need an extra ink like a second hit and opaque white as well. This can be recognized by our digital press, HEIDELBERG Versafire, but it also works with any digital press that needs varnish or white and can read that information from the PDF. It goes without saying it works with Commercial and Packaging Offset jobs as well.
Read the previous "Did You Know" post - Coating Editor Part 1
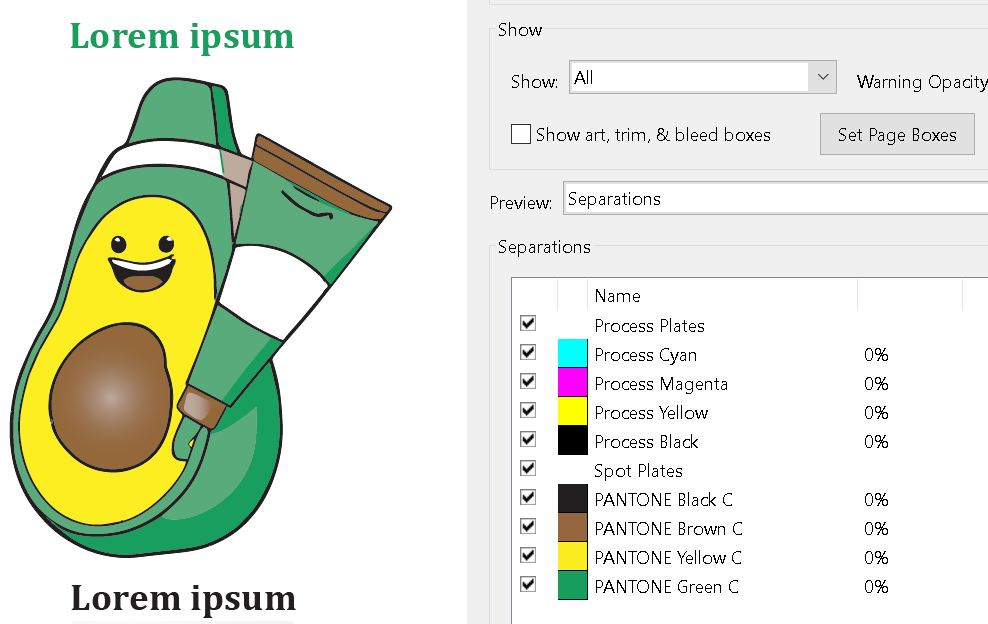
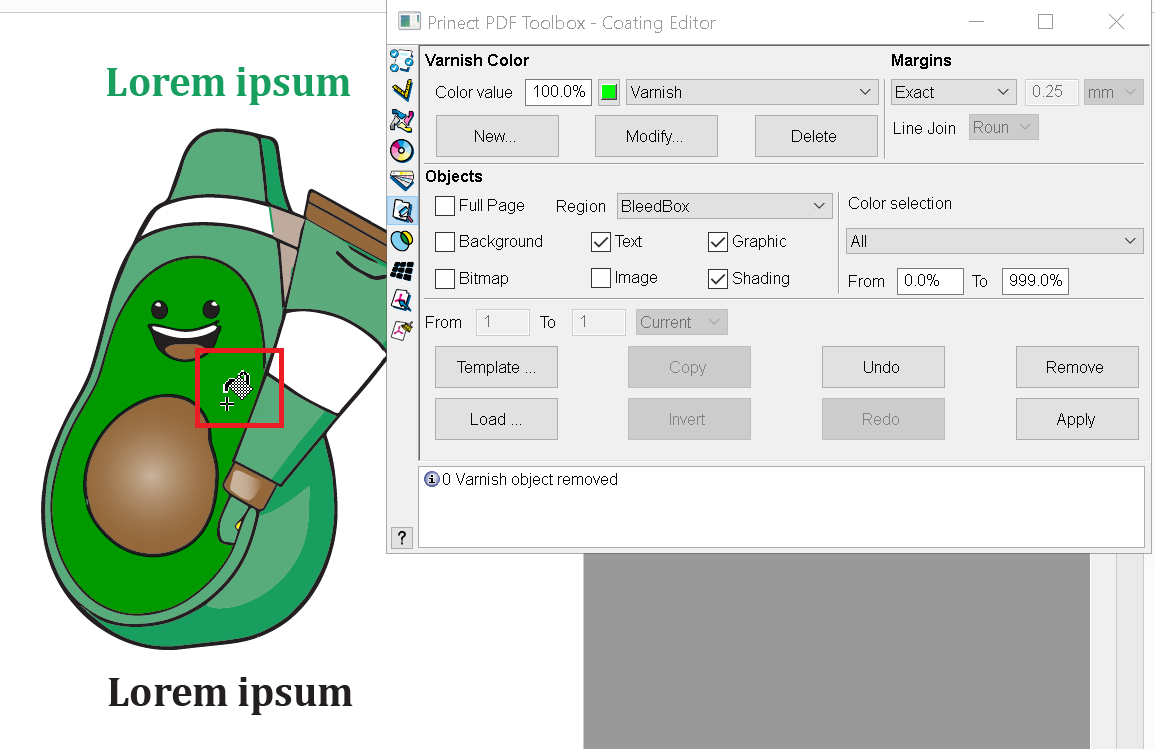
I needed some simple artwork for this blog so I used the Art AI Dall-E-2 from OpenAI to make me a vector of a “smiling avaocado toothpaste mascot.” It doesn’t create actual vector artwork but the colour planes were simple enough that I went into Adobe Illustrator and outlined it. After making it into vector artwork I converted it into 4 spot colours. I added some type so we can see how Coating Editor can be used to target specific page elements automatically or manually.
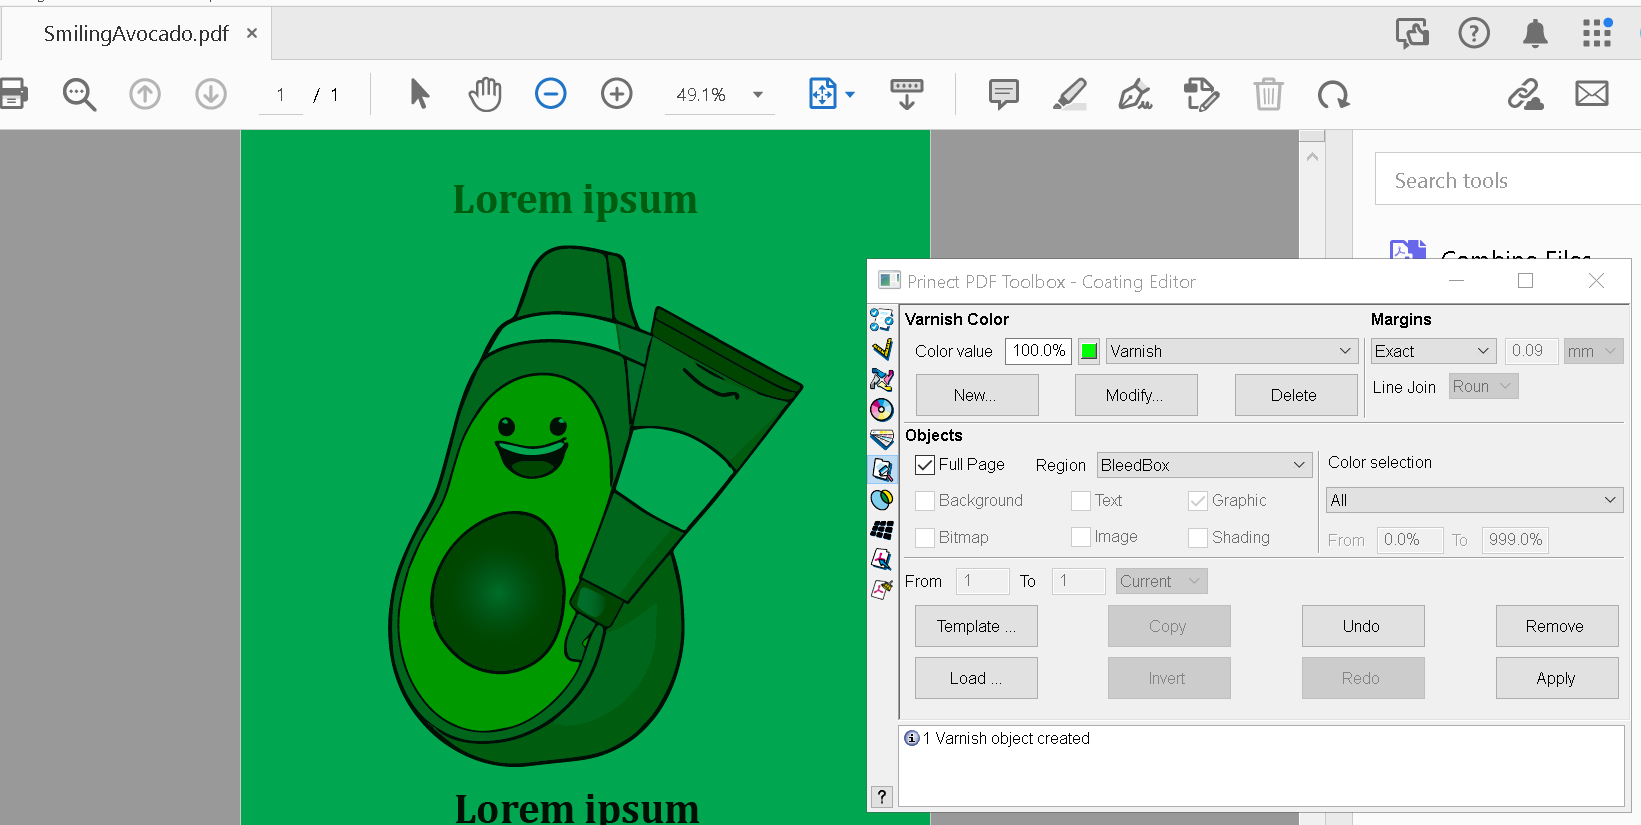
Let’s look at Coating Editors namesake purpose adding a varnish. Full Page is easy. Varnish is represented by the green colour overlaying.
When Full Page is deselected is where the fun begins. Now we can target specific page elements automatically. Checking Graphic targets all of the solid vector artwork.
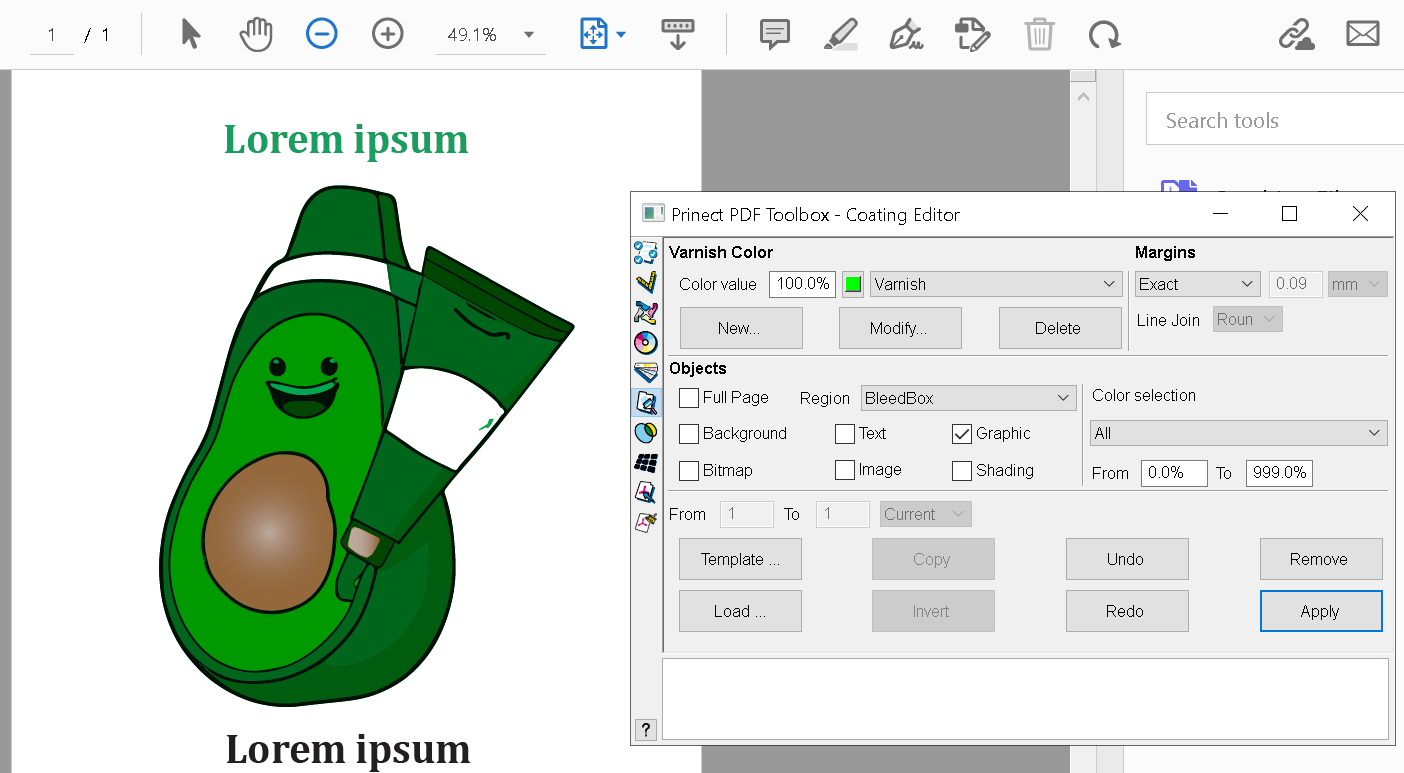
Checking Shading adds the vignettes. It leaves the text alone.
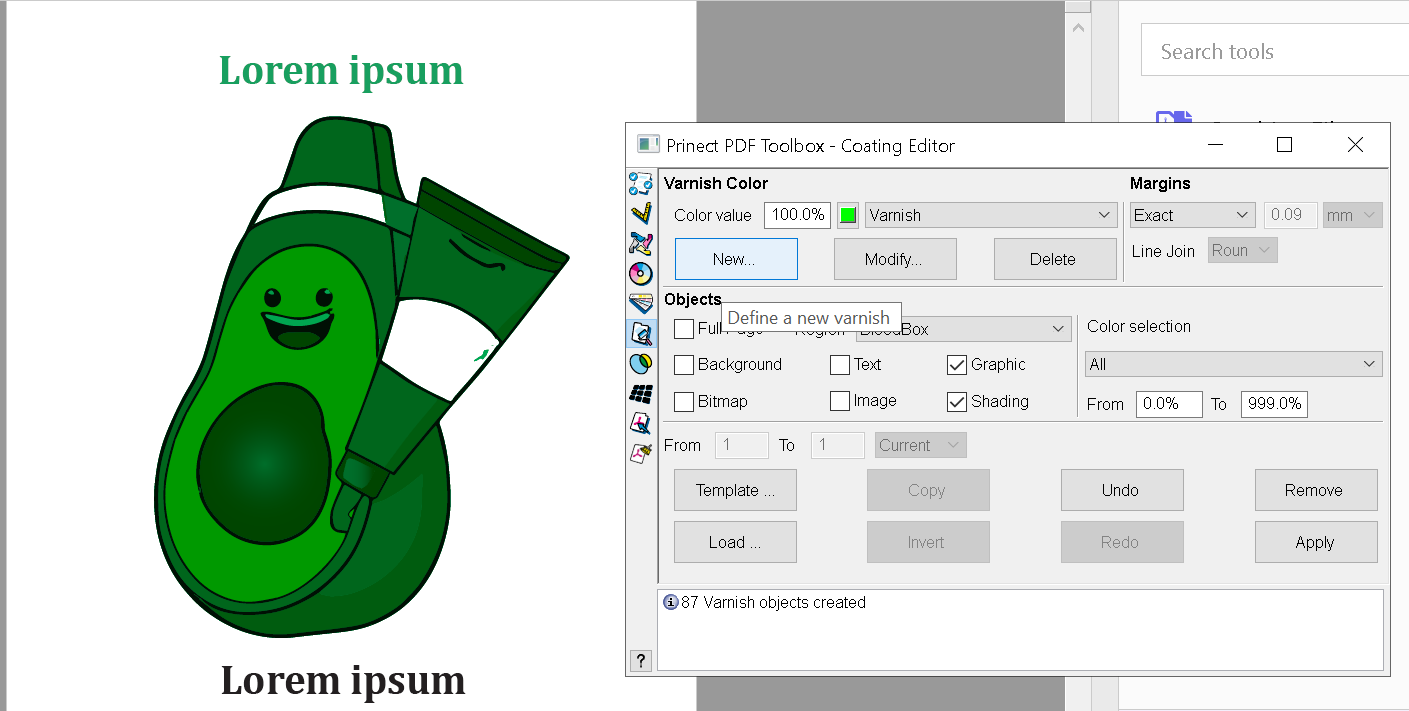
The two white areas inside the artwork may need a varnish and I forgot to set a Compound Path in Illustrator. No worries, by right-clicking over the artwork I can Edit Paths already created by Coating Editor and I can create new ones very easily. Plus, with Undo having to keep a version with a varnish and without is not needed. It can be removed at any time.
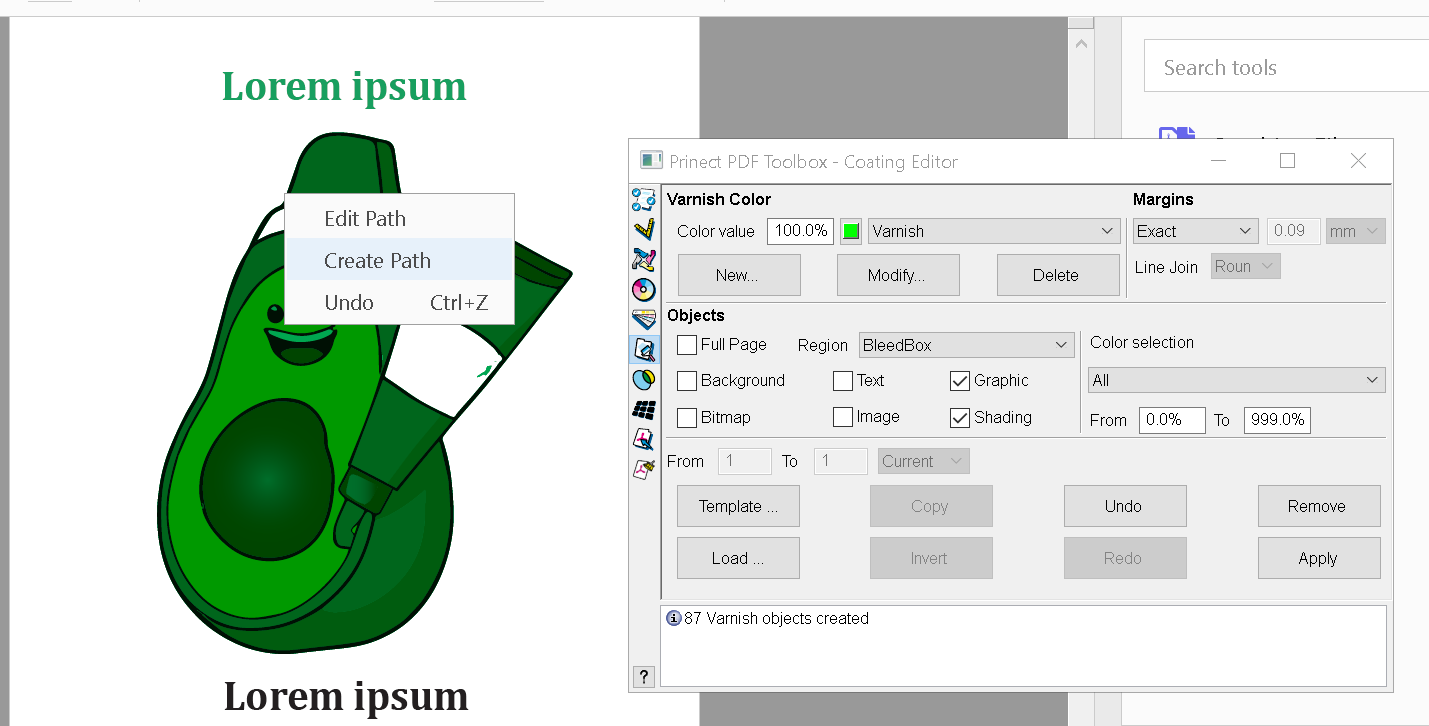
Here, I've made the selection.
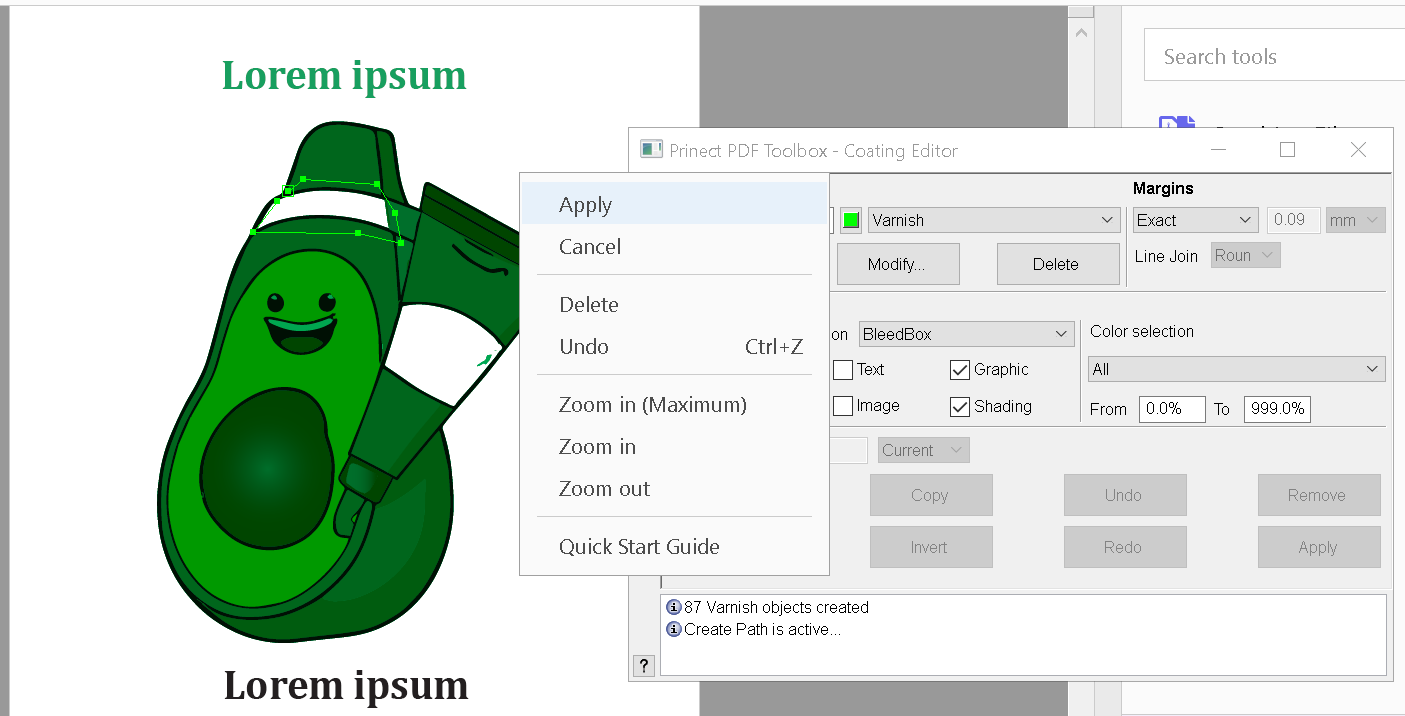
You can see I missed a small spot.
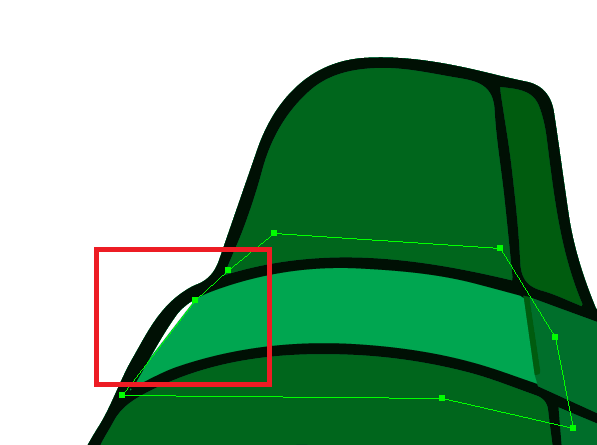
Edit Path allows me to fix that easily.
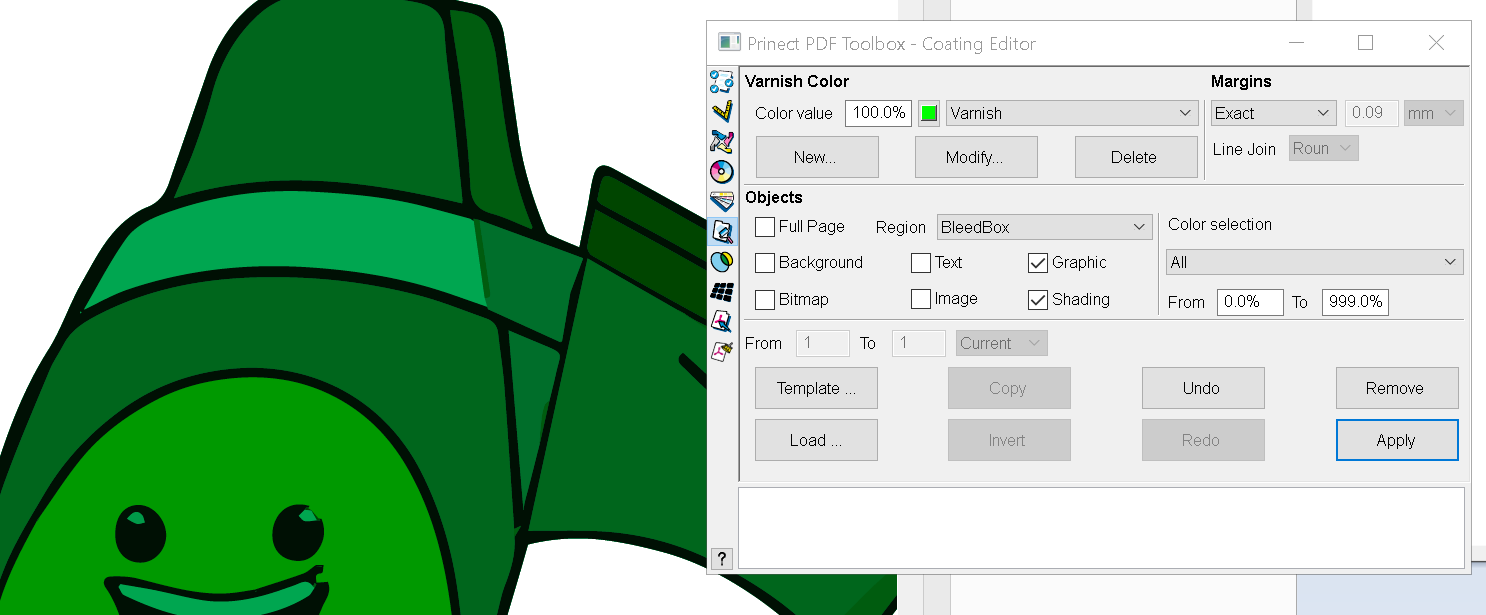
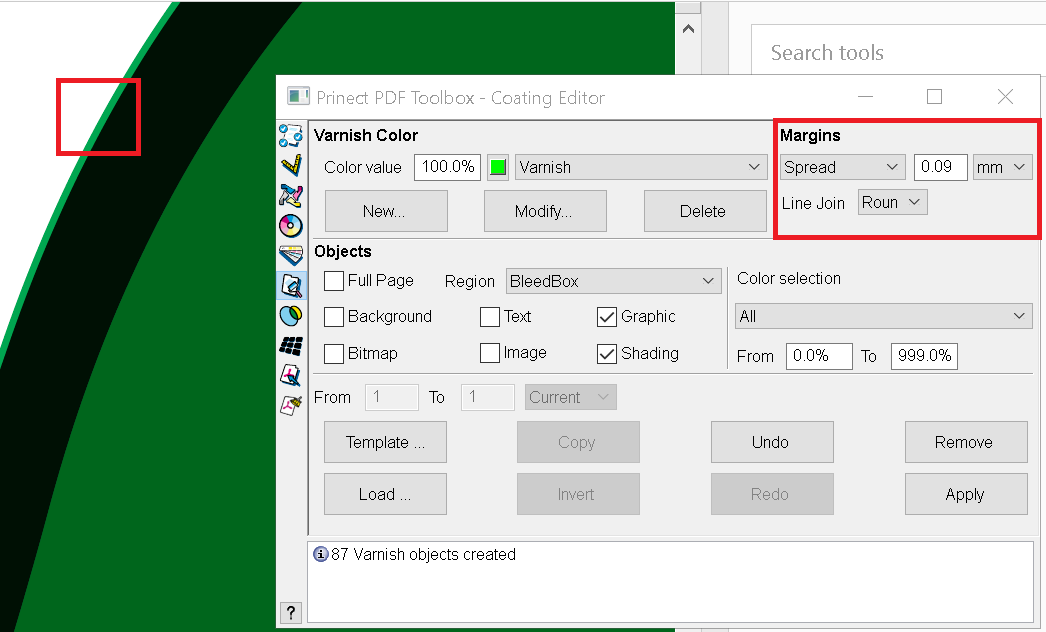
By changing Margins from Exact to Spread I can make the varnish slightly bigger than the artwork to take into account any misregister that might occur in whatever process is being used to apply the varnish.
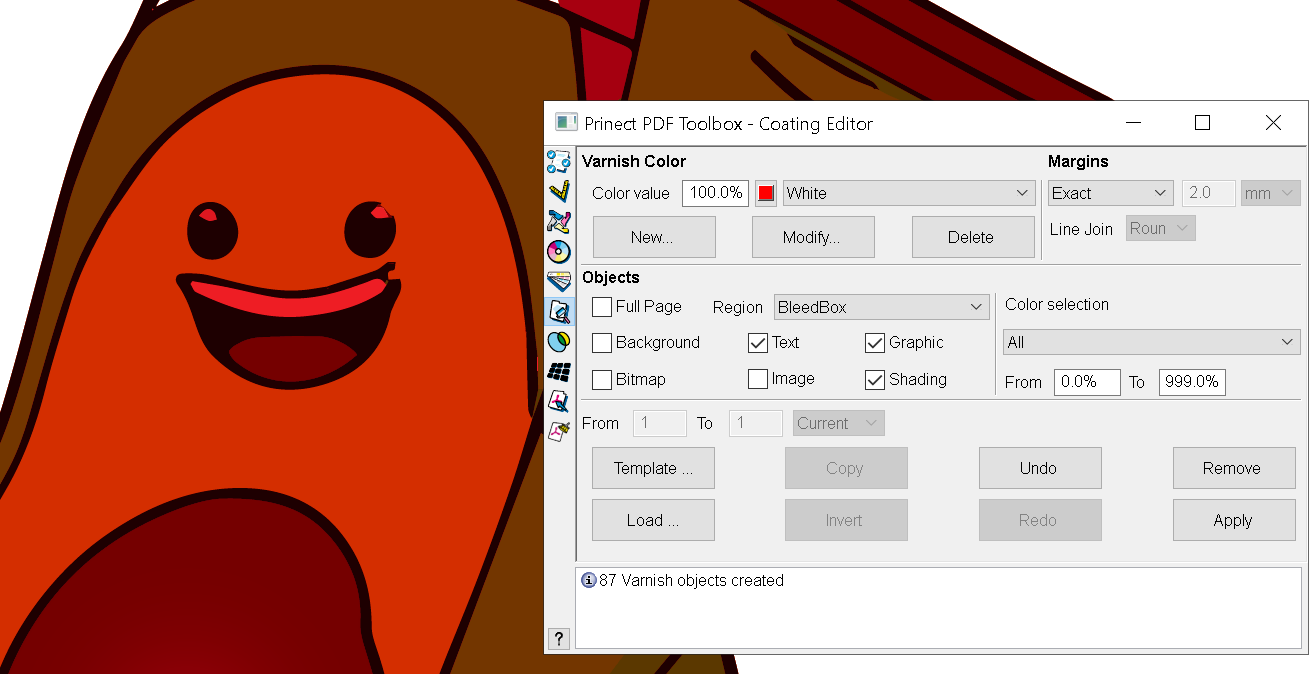
Let’s look at another important use. In this example the artwork will be printed on clear substrate or a substrate like box board. This means we should put white behind the artwork we want to so that it isn’t obscured or dulled by the fact that we are not dealing with a white substrate. It could even be on metallic stock. If you look at the Avocado’s eyes they have the white ink applied as well. The red colour represents the white ink.
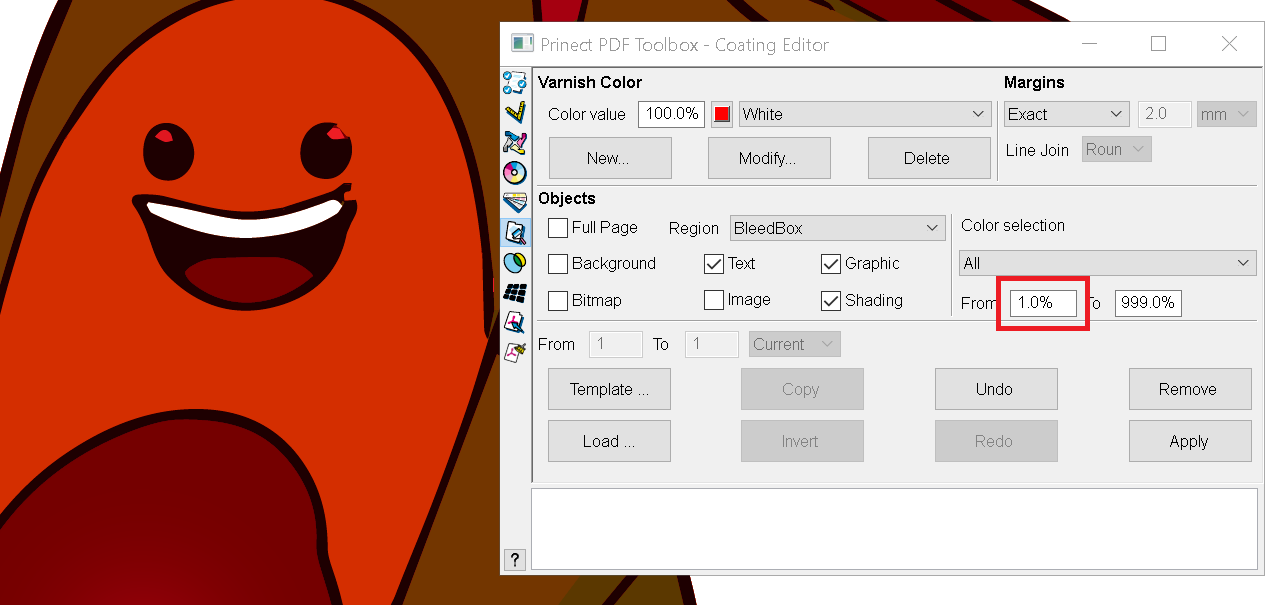
What if we wanted the clear plastic to show through the eyes? Under Color Selection we set the Range From set to 1 instead of zero. This will leave any of the artwork that is 0% with no varnish. This would give an interesting effect on clear substrate. This can be used to create a number of artistic effects by manipulating where the varnish should land as well.
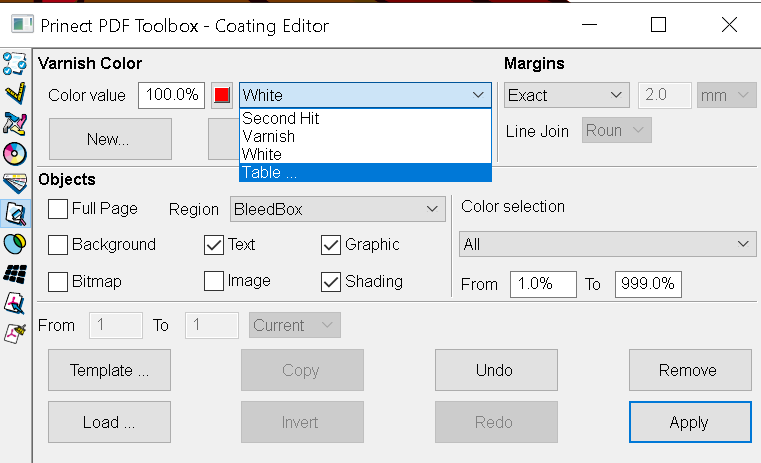
Sometimes a double hit of a colour is required. Coating Editor makes that easy using the same rules you use for white or varnish inks. Tell it you want a new colour and choke it in case of misregister. Instead of just applying to every colour like we would with a varnish or white the second hit is usually applied to specific colours. This can be selected in Colour Selection for any colours in the artwork.
We have Pantone tables as well we can use. Instead of making one from scratch.
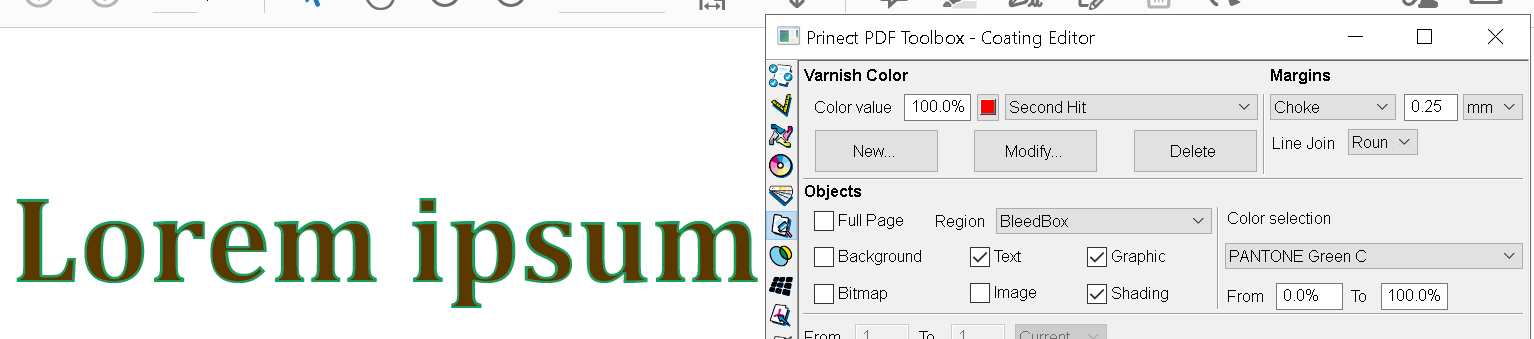
I applied an extreme choke and a contrasting colour to better show the Second Hit and the Choke applied to it. The green is the original nonchoked first hit of the colour.
Lastly, instead of applying any of these inks to various page elements in general. Instead, if I drag my mouse over the artwork I get a bucket icon and I just click on page elements to apply, in this case, a varnish to what I think is the avocado’s face? I wonder if the other half of the avocado is smiling as well? Maybe they are sad because they did not get the pit?

Holding down option gives me the ability to erase parts of the applied varnish. You could start by covering everything in varnish and then take away the few areas you don’t want!
Coating Editor is a wonderful addition to Prinect Production Manager. Creating varnishes or anything I have shown here manually can be fraught with problems and takes a lot of manual labour. While I can’t promise it can do it all, everything I have shown took seconds produce. Even if this could only be used for 50% of the work needed it would still be an incredible saving in labour and therefore your bottom line.

Joe Banich
Prinect Product Specialist - Heidelberg Canada
Email*: Joe.Banich@Heidelberg.com