
This month I would like to illuminate further on a small, but important piece of the Prepare sequence called PDF Optimization.
A common problem many printers have is low resolution images. We can catch these in the workflow or in Acrobat Preflighter can catch this. But did you know, not only can low-resolution images cause problems, but also large, messy artwork that may have objects and layers lurking in the background, making your files huge?!
This step is done manually in many shops as part of the preparing of files for production. PDF Optimize can do the same work, but in seconds just as consistently and accurately as a step in your standard workflow.
PDF Optimize is also part of suite of Acrobat Plugins called PDF Toolbox. Either way it just modifies the PDF to benefit not only jobs in your Prinect Production Manager workflow but to any other output devices in your shop.
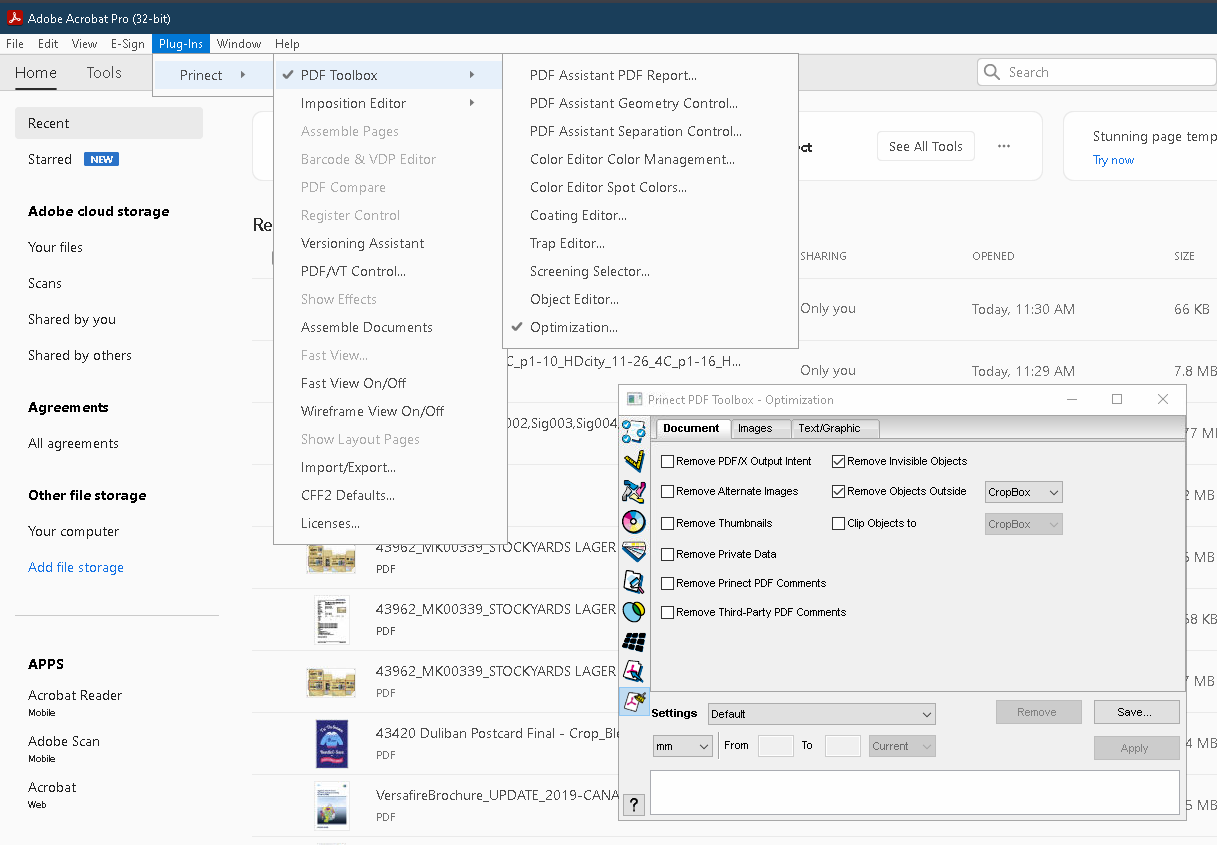
The PDF Optimization is broken into two tabs, Default and Images, in the workflow and 3, to save space, in PDF Toolbox. They do the exact same tasks.
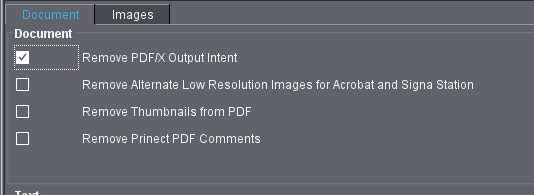
Let’s take a closer look at the PDF Optimization in the workflow. In the upper area of the first tab, Default, we can remove spurious information that can cause problems and do some general cleanup of the PDF for production. In the upper left hand side we can remove the PDF/X Output Intent which can cause us problems if the wrong ICC Profile is assigned. This can cause unexpected color shifts during the processing of the PDF in later stages of production. The other 3 are to just cleanup any data that may cause confusion during viewing of the PDF.

On the left-hand side are some very important object elements that need to be cleaned up or removed.
Removing Invisible Objects is needed when the creator of the artwork was very disorganized or messy with their Artwork. There could be multiple unrelated artwork residing behind or hidden. This can cause a lot of grief, for example, when this invisible artwork triggers a missing font error but the font is not actually in the layer of visible artwork. It can create longer processing times as well. Artwork that is created in a very messy way can also exist outside of the visible page or Media Box and/or extend far beyond the Trim and Media Box of the PDF.
Remove and Clip Objects cleans up these two problems automatically. It would be a lot more work to seek them out and fix them by hand.
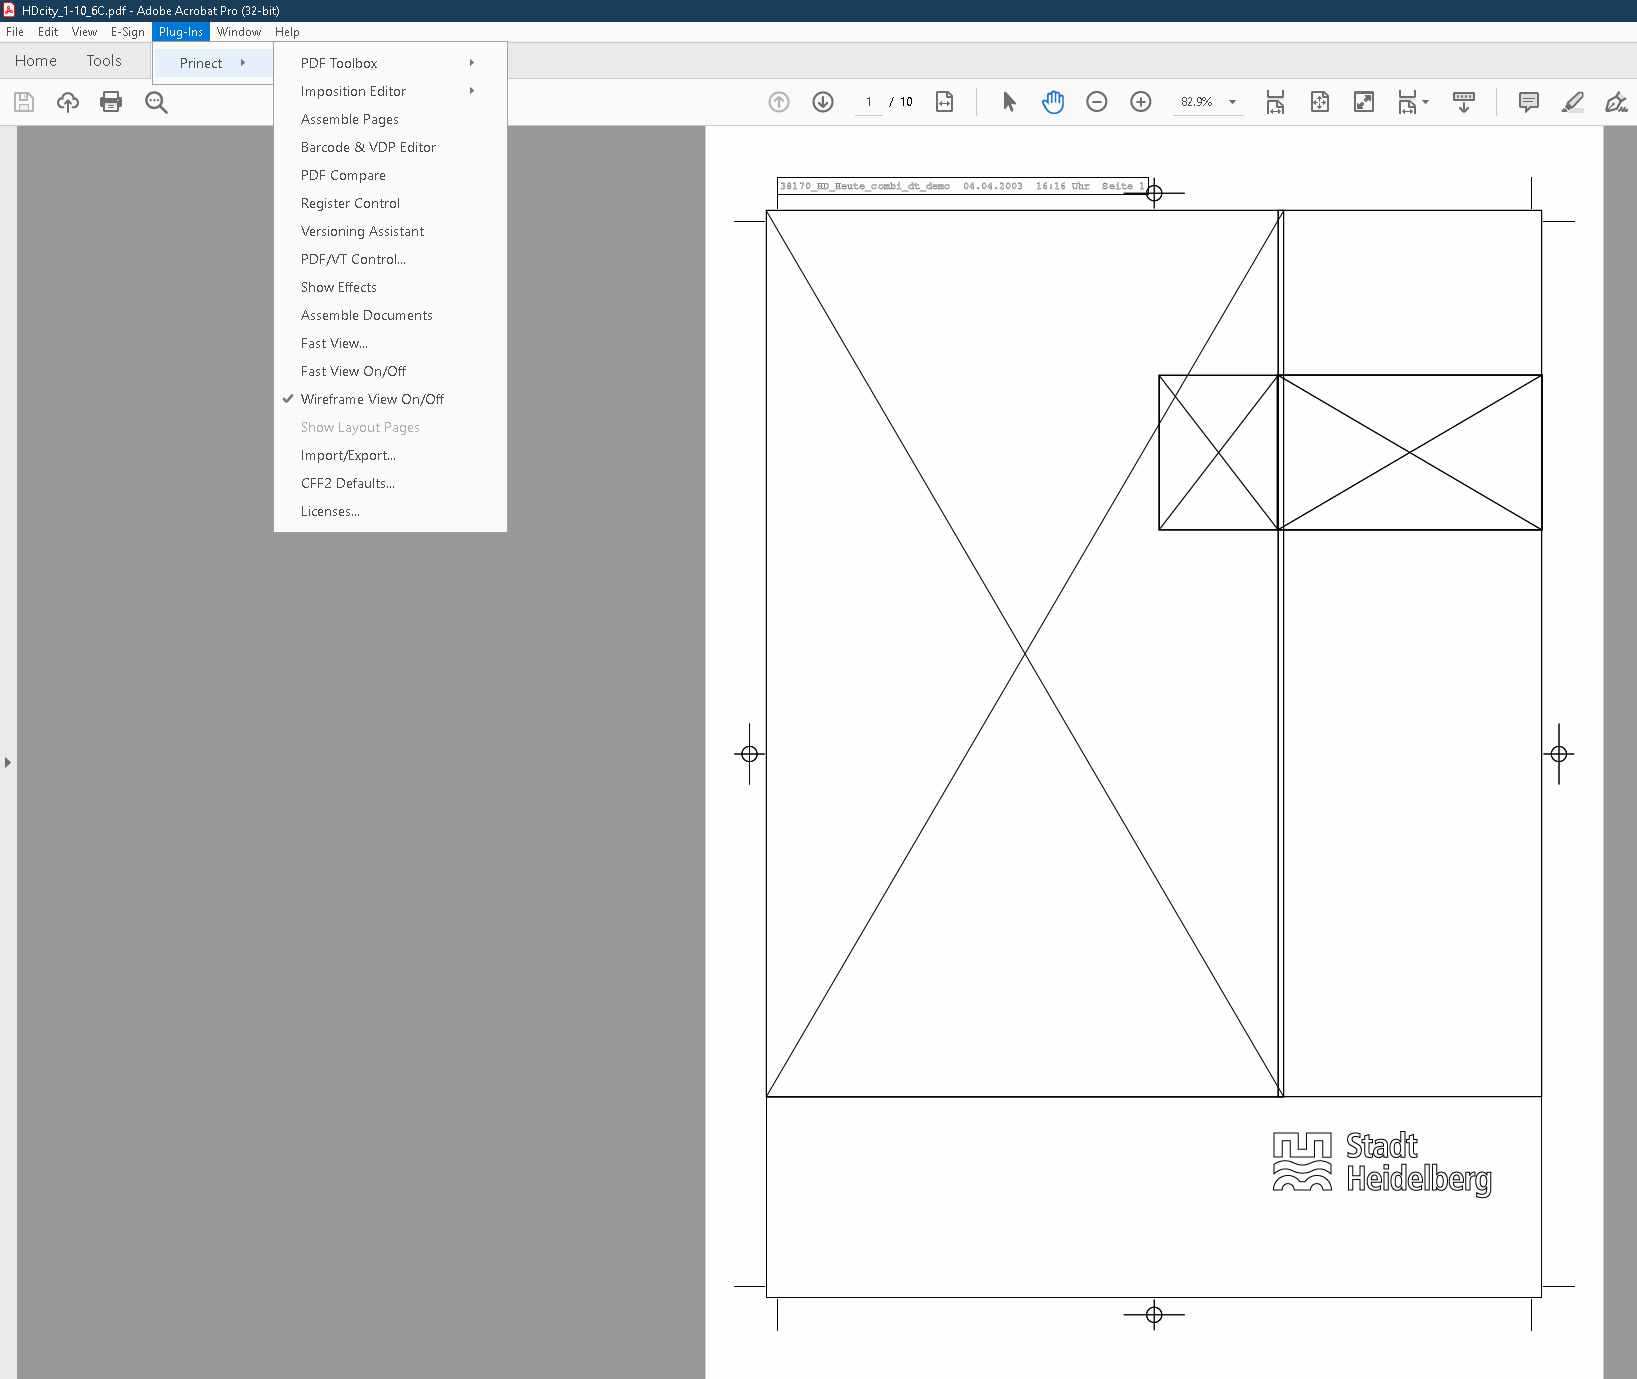
The last two selections allow us to remove any comments or relics of data from applications that may have been used to create some of the page elements. We can see this invisible and overextended artwork when we use the PDF Toolbox plugin Wireframe View to show us the invisible frames that make up the artwork. This can reveal a plethora of objects that could cause unwanted errors or processing time.

Towards the middle of Default we are given the option of outlining, or Converting to Graphics, any fonts that might be in the job. This converts them from live fonts to drawings or vector artwork. This removes the need for the fonts to be available for output later and for anybody viewing them to render the font correctly. It also stops it from being edited as type, which some people.
There is no right or wrong with some of these setting just what is right or wrong for you. You configure it however you like or have a workflow waiting to do either based on the situation.
The last part is for dealing with small fonts that may need to be printed at lower resolution like inkjet. In these cases, small fonts may become bold due to the low resolution. These settings allow you to choke the font which essentially shrinks the font. The second, for more severe low resolution output, you can covert the font to a bitmap graphic. Basically, converting the font to an image. HEIDELBERG has learned through research that this produces a good result instead of a bolded and wrong font.


The Images tab allows us to fix a big bug in prepress production. Although it is preferred to have images with higher resolution too much can cause extremely long processing times and exceedingly large PDF files. Three image types can be targeted. Color, black and white, and 1 Bit or monochrome images. We can choose at what resolution a down sample to the default resolution needs to occur. The compression we want can be lossless or lossy. I suggest lossless as there will be no degradation of the image quality. The trade-off is not as small of an image size.
PDF Optimize saves time and lets your prepress focus on the job itself and settings are customizable based on the printing requirements for the specific job. It can help not only with offset output but can clean up and make PDFs more efficient to produce work for any device in your shop. It can be used as part of our Acrobat plugins or part of the workflow Prinect Production Manager.
Joe Banich
Prinect Product Specialist - Heidelberg Canada
Email*: Joe.Banich@Heidelberg.com
